
わが家では、Notionという情報管理ツールを使用して幼児英語教材DWE(ディズニー英語システム)の学習状況管理をしています。
別記事で私が作成した学習状況管理表などをご紹介しましたが、今回はどのようにしてそのページを作成したかお話したいと思います。
Notionを使用した学習状況管理表の作成
①ホーム画面
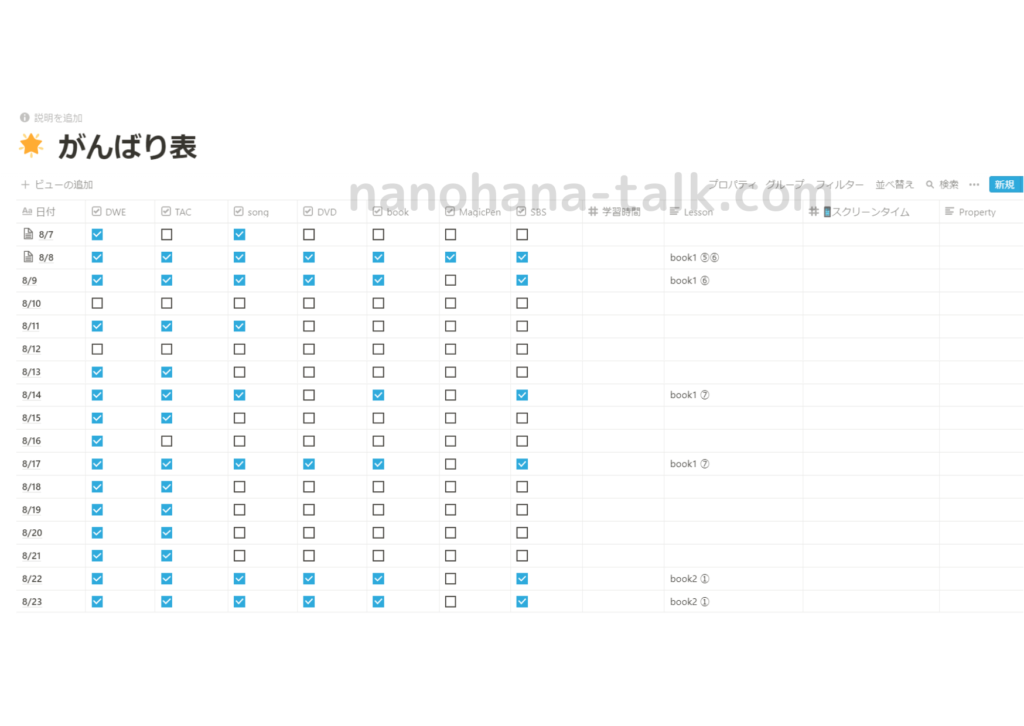
②がんばり表
 なのはな
なのはなNotionってとても便利なのですが、慣れるまでがちょっと大変なんです
ここでは基本例を解説しますので、どんどん自己流にカスタマイズしてみてくださいね
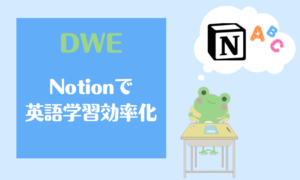
ホーム画面の作成方法
 なのはな
なのはな私はこのようなホーム画面にしました
では、始めたいと思います
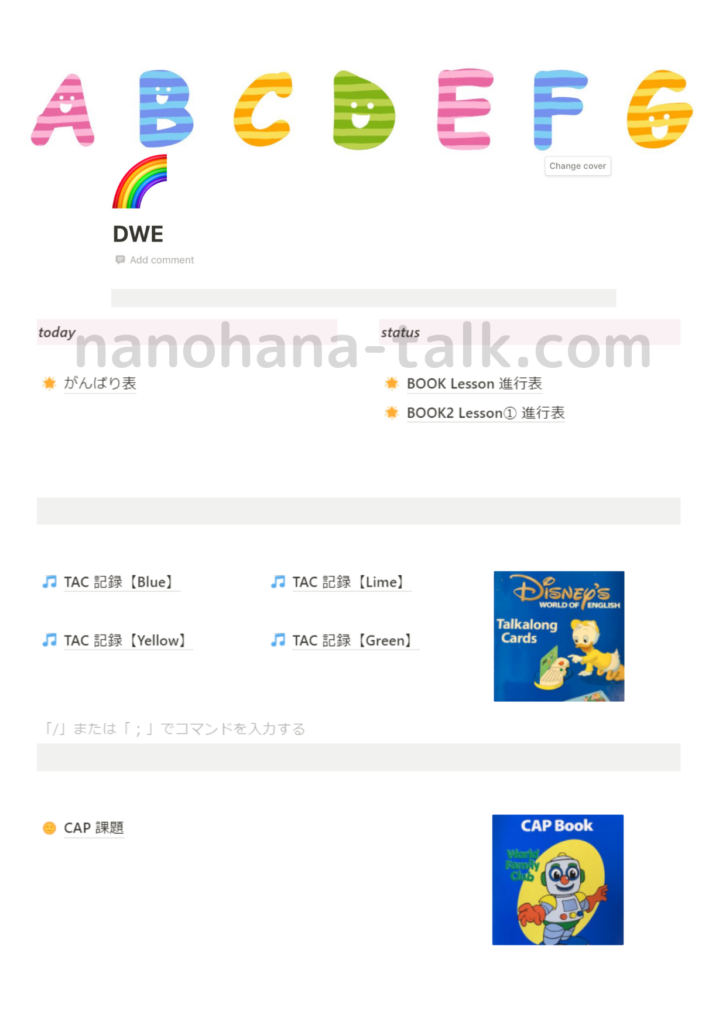
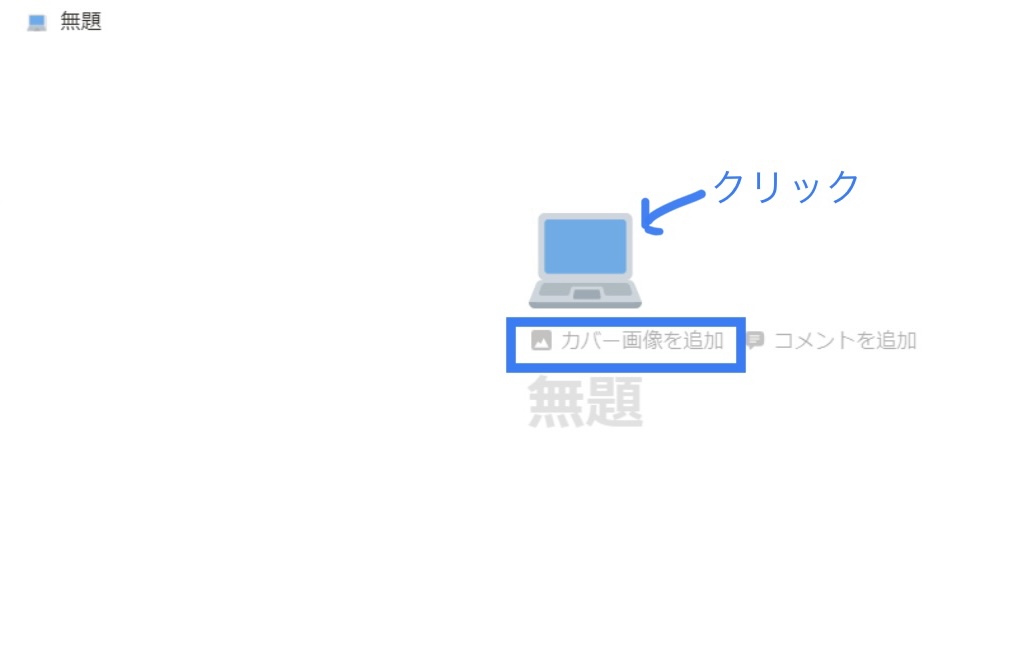
はじめにこのような場面が出てきます。
左側の「ページを追加する」をクリックすると右画面がでてきますので、題名を入力し、「アイコン付きページ」を選択します。
アイコンの変更をしたい場合はアイコンをクリックします。
また、「カバー画像を追加」をクリックすると、ホーム画面上部にデザイン画が出てきますので、お好みの画像を挿入してみてください。
 なのはな
なのはなホーム画面の設定はこれで終わりです
これから中身を作成していきます
がんばり表の作成方法
なのはなその日に取り組んだ教材を毎日チェックできる表を作成しました
子どもの頑張りの見える化を目的としているので「がんばり表」と名付けました
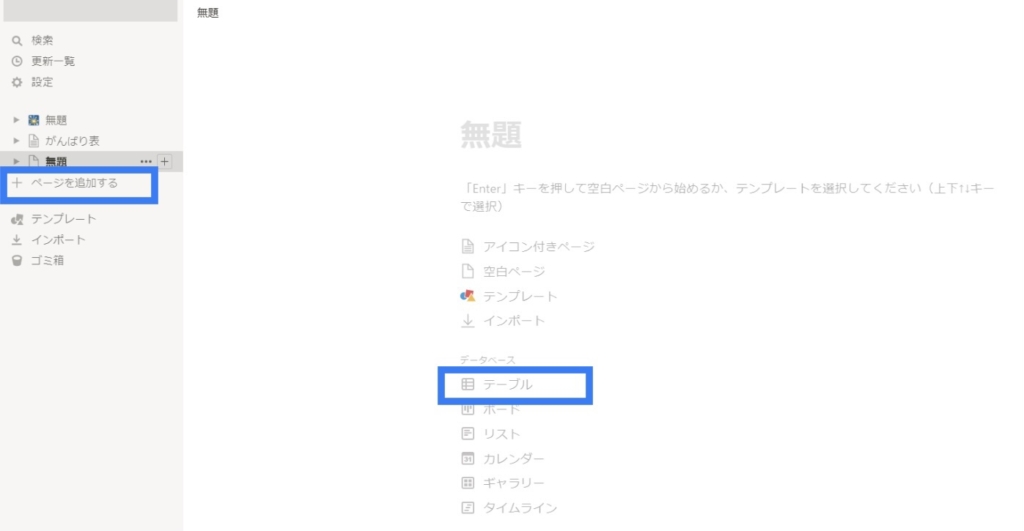
まず、左側の「ページを追加する」をクリック、右側に出てくるデータベースの中から「テーブル」を選択します。
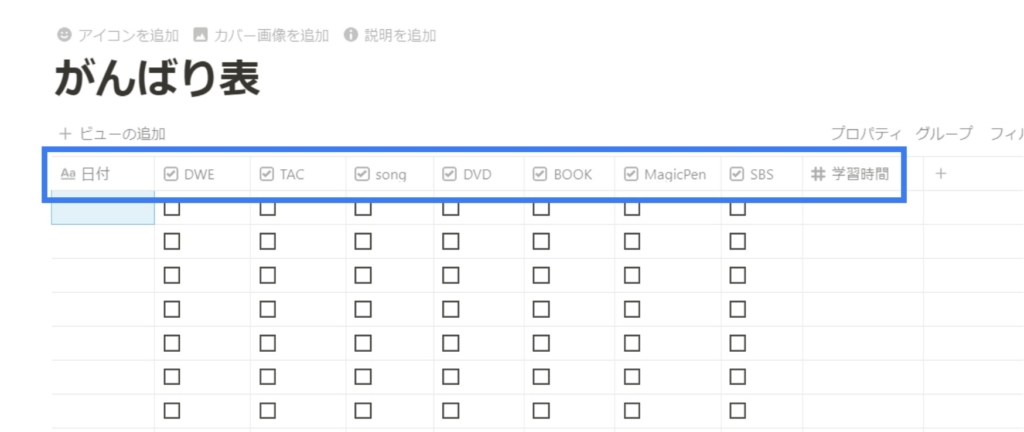
次のような画面が出てきますので、ここから加工していきます。
矢印の部分をクリックしながらスライドさせると、表の幅が調整できます。
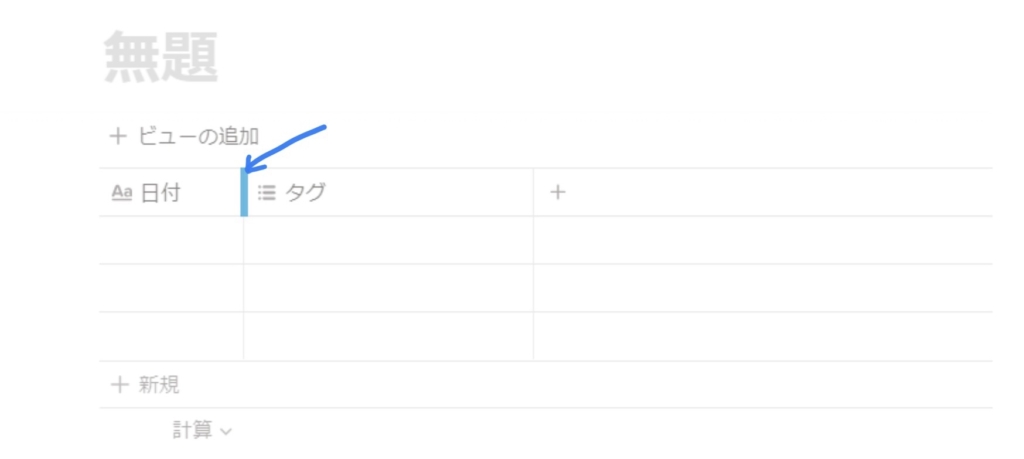
それでは、下記の青色で囲った部分の作成をしていきましょう。
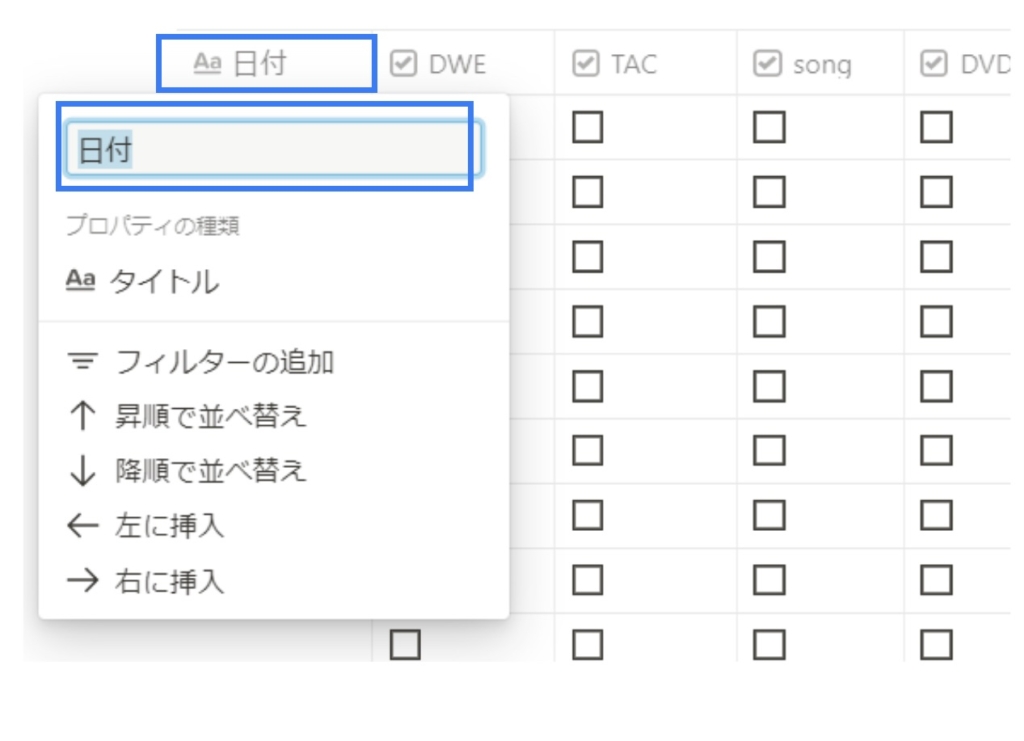
①日付のマス作成
表の一番左端のAaという箇所をクリックすると、次のような画面が出てきますので、日付と入力します。
②チェックボックスのマス作成
日付と入力した隣のタグと書かれたマスをクリックすると次のような画面が出てきます。
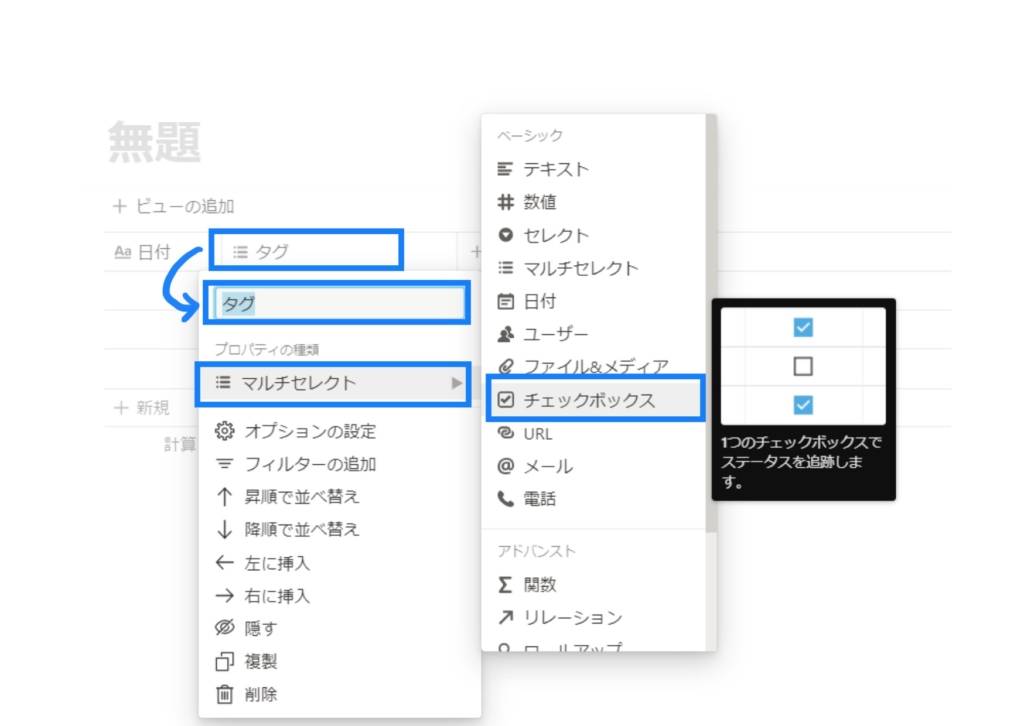
「プロパティの種類」から「チェックボックス」を選択し、タグと書かれた部分に項目(教材名)を入力します。
あとは右側に次々とチェックボックスを作成して教材名を入力すれば完成です!
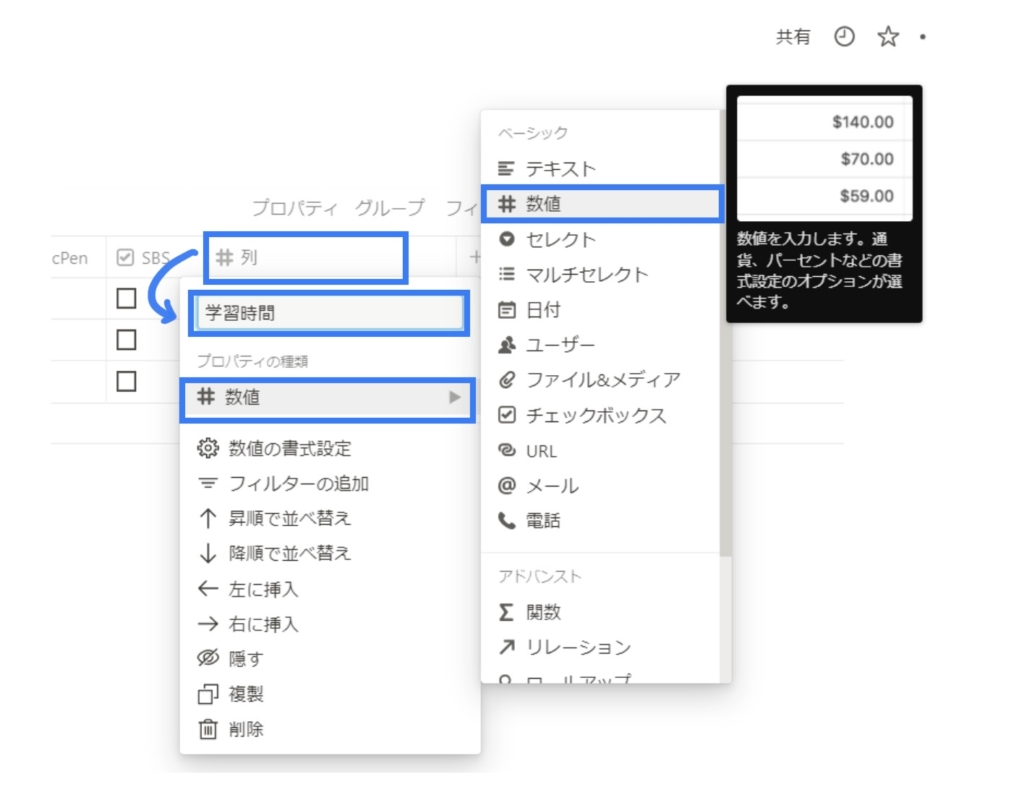
③学習時間のマス作成
これまでと同じく、表の項目を入力するマスをクリックし「プロパティの種類」から「数値」を選択し、学習時間と入力します。
 なのはな
なのはなこれでがんばり表が完成しました!
がんばり表をホーム画面に移動させる方法
作成したがんばり表をはじめに作成したホーム画面に移動させます。
左に出てくる一覧表の中に先ほど作成したがんばり表があります。
青色で囲ってある「…」をクリックします。
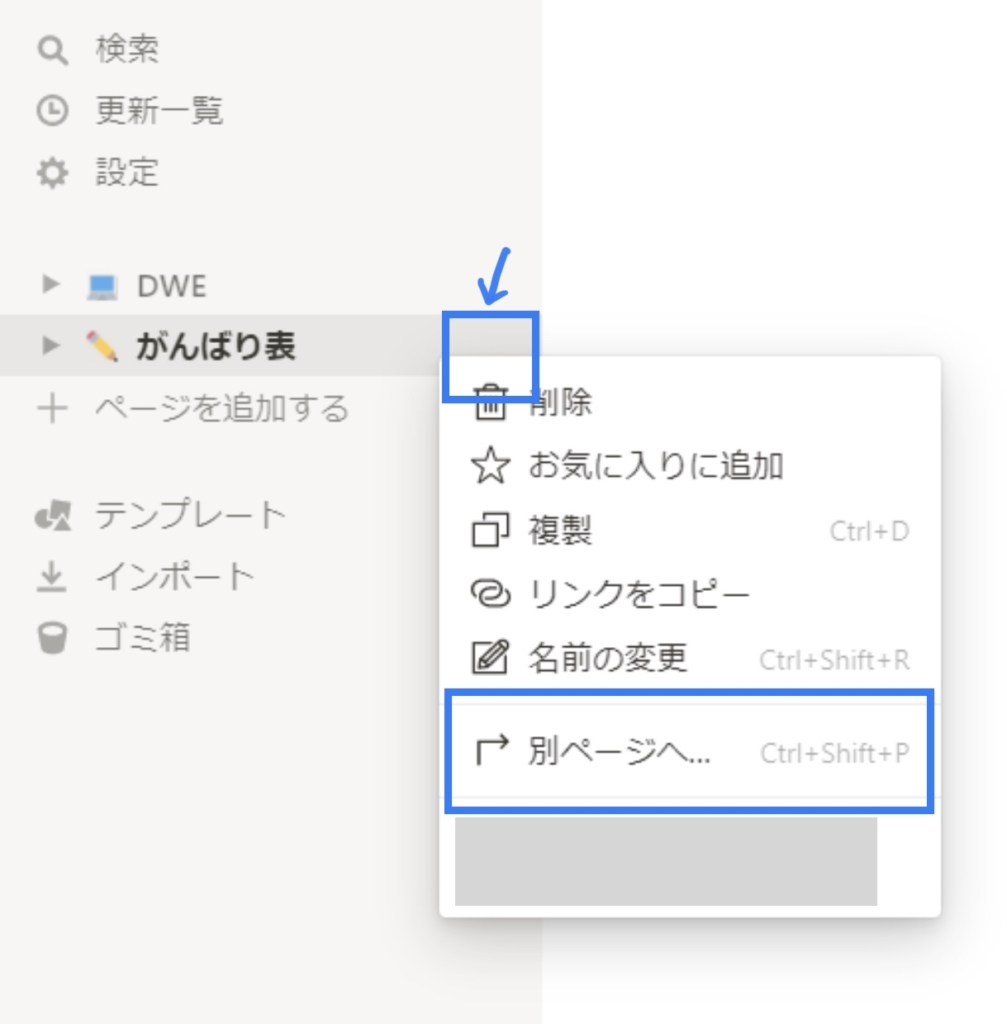
ここで「次ページへ」を選択します。
次のような画面が出てきたら、移動させたいページを選択します。
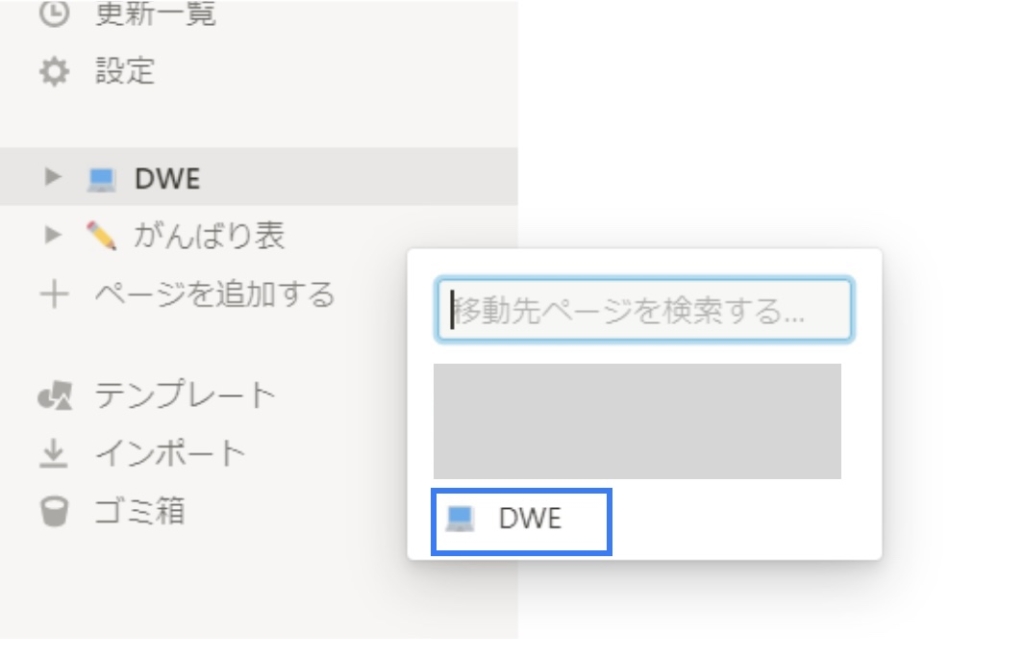
ここでは「DWE」を選択します。
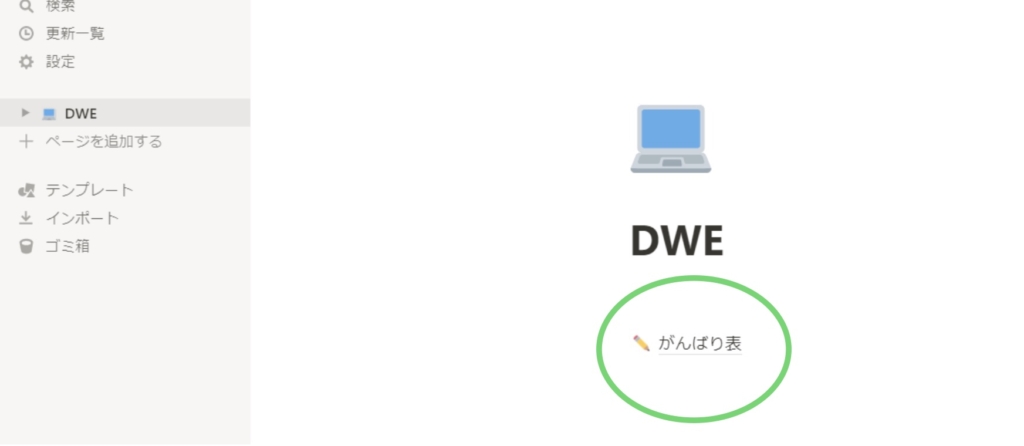
DWEというホーム画面にがんばり表が移動してきました。
これで移動完了です。
 なのはな
なのはなお疲れ様でした!
慣れてしまえばサクサク作成できるようになりますので自己流のカスタマイズにもチャレンジしてみてください
つづきます
長くなったので、今回はここまでです。
次回、BookLessonの進行表と、Book内Lesson進行表の作成方法をお話したいと思います。
最後まで読んでいただきありがとうございました。


コメント